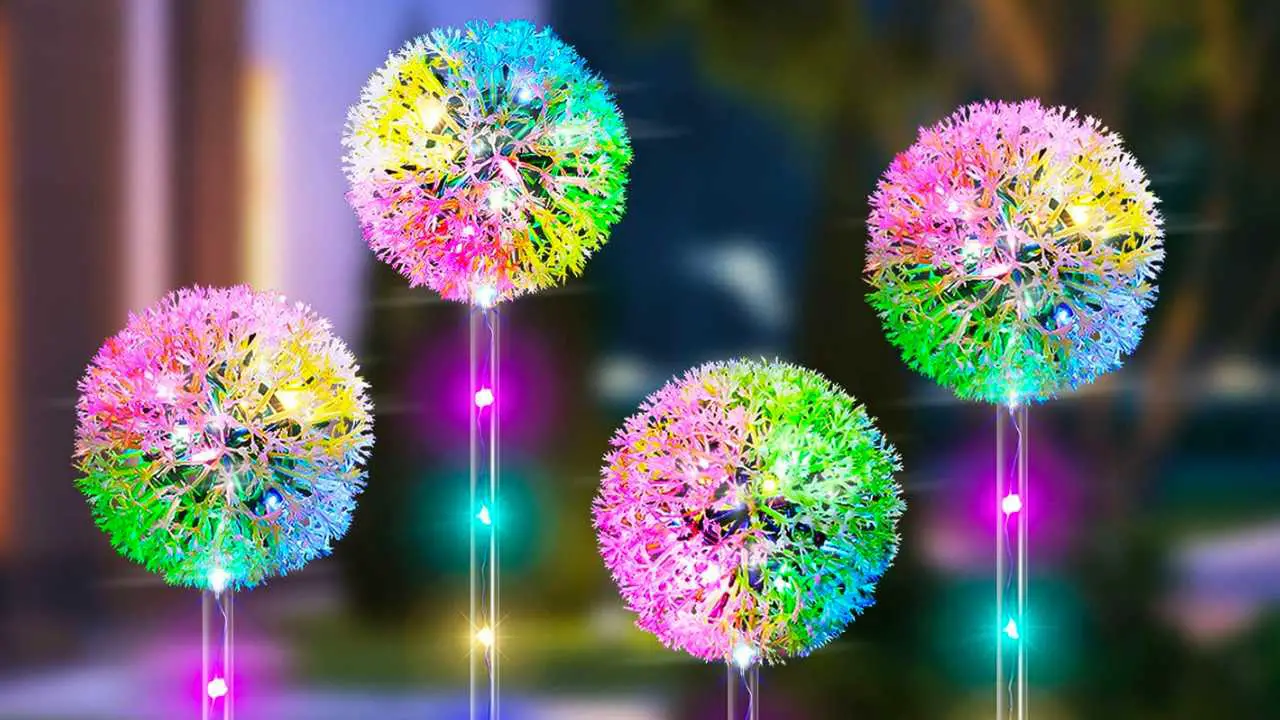
How to install solar garden lights
Install your Solar lights in the best position to ensure they are fully charged throughout the day, but provide enough illumination for the area when the sun goes down.

Some say that life is a journey, not a destination. The same can be said for spending time in the garden. With every step down the garden path, there is something new to discover, something new to appreciate. But what about when the sun goes down? Do we have to abandon our journey until the next day? Not if we install solar garden lights. Here's how:
Choosing the Right Lights
Before we can install solar garden lights, we need to choose the right ones. There are many different types of solar garden lights on the market, each with its own pros and cons. Some are more decorative than others, while some are more practical. Here are a few things to consider:
Brightness
The brightness of a solar garden light is measured in lumens. If you're looking to illuminate a path or a large area, you'll want a light with a higher lumen output. However, if you're looking for a more subtle effect, a lower lumen output may be more appropriate.
Battery Life
Since solar garden lights rely on sunlight to charge their batteries, battery life is an important consideration. Look for lights with a battery life that will last throughout the night, even on cloudy days.
Style
Solar garden lights come in many different styles, from modern and sleek to rustic and charming. Consider the overall style of your garden when choosing lights to ensure they fit in seamlessly.
Installation
Once you've chosen the right solar garden lights for your needs, it's time to install them. Here's how:
Step 1: Choose the Right Location

The first step in installing solar garden lights is to choose the right location. You'll want to choose a spot that receives plenty of sunlight throughout the day, but that is also in a place where the lights will be visible and effective at night.
Step 2: Prepare the Ground

Before you can install the lights, you'll need to prepare the ground. Use a garden trowel to dig a small hole for each light. The holes should be deep enough to hold the lights securely, but not so deep that the lights are buried.
Step 3: Insert the Lights
Once the holes are dug, it's time to insert the lights. Gently push each light into its hole, being careful not to damage the solar panel or light fixture.
Step 4: Secure the Lights
After the lights are inserted, you'll want to secure them in place. This can be done with a small amount of gravel or soil around the base of the lights.
Step 5: Test the Lights
Once the lights are installed and secured, it's time to test them. Cover the solar panel with your hand to simulate darkness and ensure that the lights turn on. If they do, congratulations! Your solar garden lights are installed and ready to use.
Maintenance
While solar garden lights are relatively low maintenance, there are a few things you can do to ensure they last as long as possible:
Keep the Solar Panels Clean
Solar panels can become dirty over time, which can reduce their efficiency. Clean the solar panels on your lights regularly with a soft, damp cloth to ensure they receive maximum sunlight.
Replace the Batteries
Over time, the batteries in your solar garden lights will begin to lose their ability to hold a charge. When this happens, it's time to replace them.
Store the Lights in Winter
If you live in an area with harsh winters, it's a good idea to store your solar garden lights inside during the winter months. This will help protect them from the elements and prolong their lifespan.
Conclusion
Installing solar garden lights is a simple and effective way to extend the time you can spend in your garden. By choosing the right lights, installing them correctly, and maintaining them properly, you can enjoy your garden long after the sun goes down. With a little bit of effort, you can create a beautiful and inviting garden path that will guide you through your own personal oasis, even in the dark.
Remember, the journey is just as important as the destination. With solar garden lights, you can continue your garden journey well into the night, and create memories that will last a lifetime.

